


Originally we were going to do these interior footings or
grade beams as part of the slab in one monolithic pour. But as Neil was
digging out for the footings the compacted gravel was sloughing too much.
We are running rigid insulation under the slab, but not under the footings and
we were concerned about voids under the rigid.
 Since we decided on separating
into 2 pours, Neil decided to form up and pour these himself instead of
bringing in our concrete sub who has done the exterior walls and will do the
slab. Neil used 2x4 & 2x6 material in the forms so that he could reuse
the lumber in the framing stage.
Since we decided on separating
into 2 pours, Neil decided to form up and pour these himself instead of
bringing in our concrete sub who has done the exterior walls and will do the
slab. Neil used 2x4 & 2x6 material in the forms so that he could reuse
the lumber in the framing stage.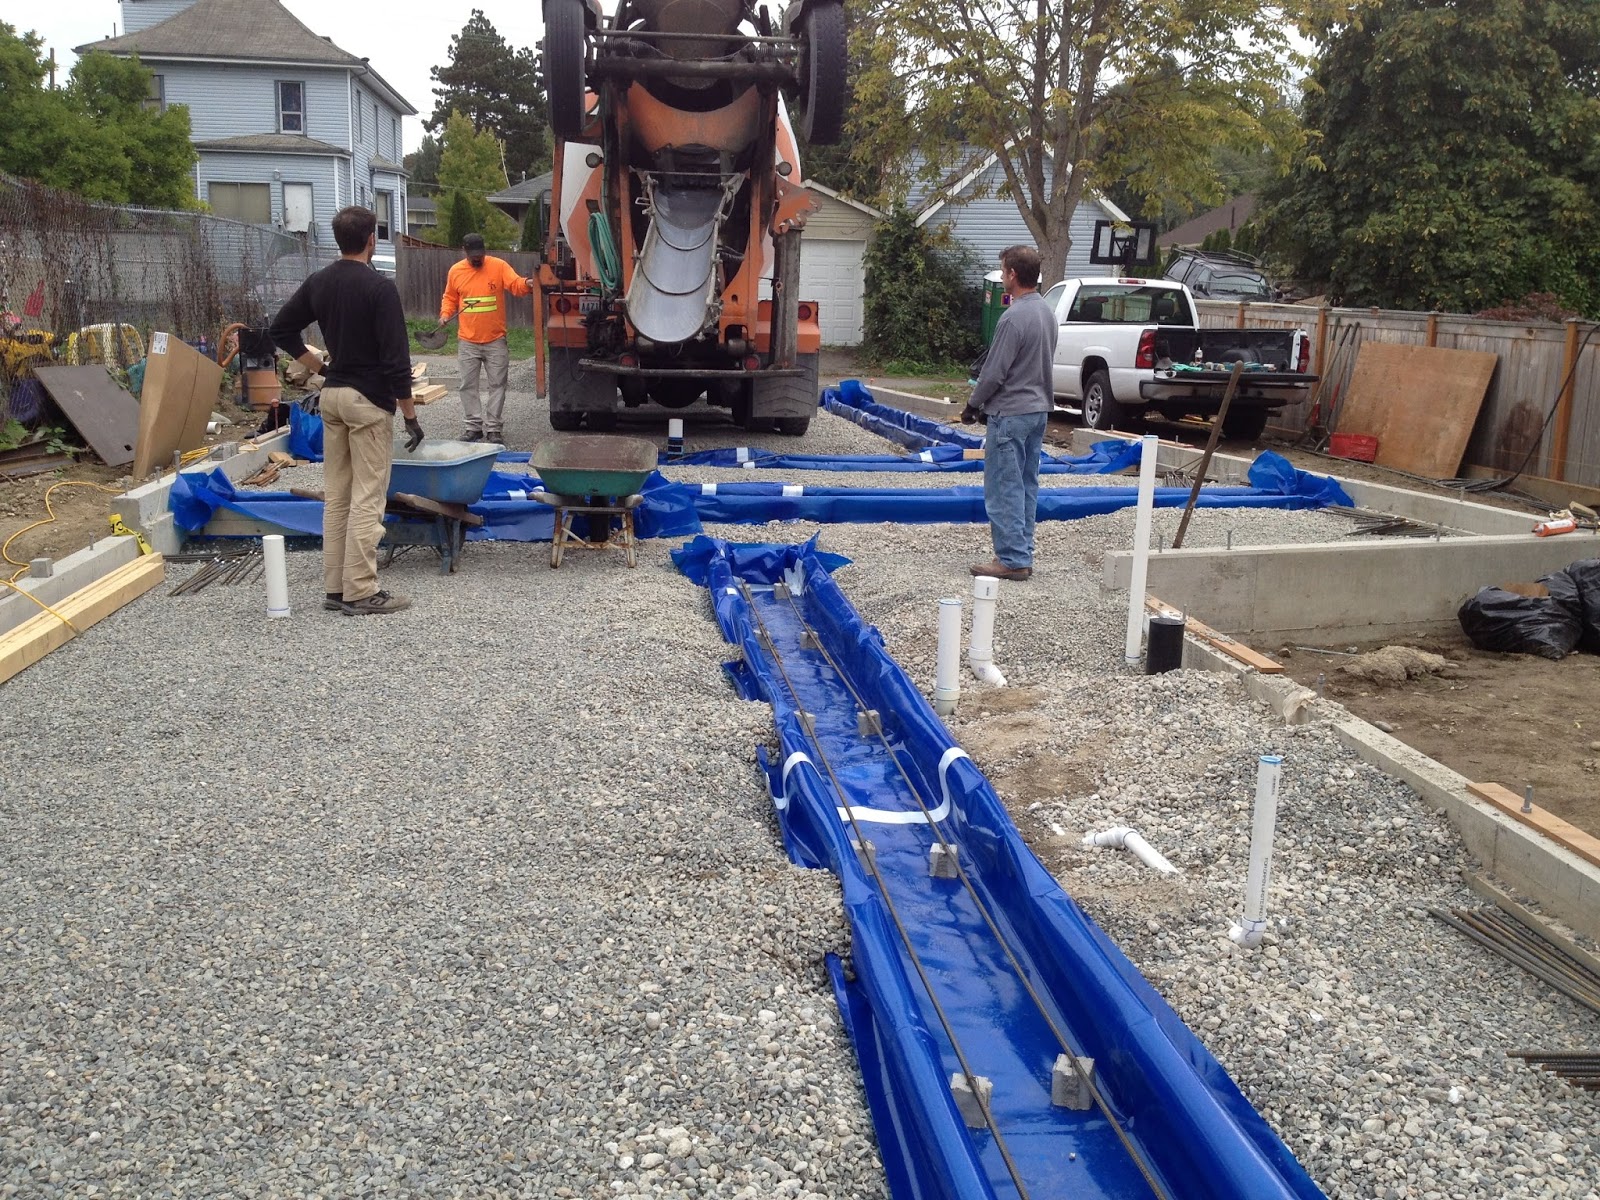

The blue plastic is our 10 mil vapor barrier. It's job is stop water vapor and other soil gases from seeping into our slab.


